
A water stain on a ceiling or a wall shows you where the water finally came out. It does not show you where the water went. That one distinction decides most of what follows: whether a piece of drywall can be dried, sealed and repainted, or whether it comes off the studs and goes in a bag.
The decision is not really about the drywall. It is about what is behind it. How wet did the framing get, how long did it stay that way, what was the water, and is the leak actually finished. Answer those four and the drywall question answers itself. What follows is the order we work in on a water-damaged drywall repair, and the reasoning behind each step.
Fix the source first, and prove it is actually fixed
Nothing goes back on the wall until the leak is stopped and proven stopped. A patch over an active leak fails twice: once when the new board stains, and again when you open the same hole a second time and find framing that has now been wet for weeks instead of days. The second failure costs far more than the first. Proving it means running the fixture, running the system through a full cycle, or waiting out a rain and rechecking with a meter before anything gets closed up.
- Attic air handler. A clogged condensate line backing up into the primary pan, or a secondary pan that has rusted through. In a Houston summer it is a common cause of a ceiling stain that appears with no rain in the forecast.
- Roof. Flashing at a wall or chimney, a split plumbing vent boot, or fasteners backed out after wind. Stains that only appear during heavy rain, and only when it blows from one direction, are usually roof or window.
- Supply plumbing. A weeping angle stop under a sink or toilet, a failed ice maker line, a water heater connection. Small, steady, and it will run for months before it shows on a finished surface.
- Drains and fixtures. A failed wax ring, a shower pan or pan liner, a tub overflow gasket, or a tiled shower where the grout and the waterproofing behind it have parted company.
- Windows and doors. Failed sealant or missing flashing at the head, which usually shows as staining at the corners of the opening and along the bottom plate in the wall below it.
The stain is smaller than the wet area
Water in a wall cavity does the obvious thing first. It runs down the back of the board, following a stud face, until it reaches the bottom plate. Then it stops falling and starts traveling. The top of a bottom plate is a flat horizontal surface with a sheet of gypsum standing on it, and water will run along that plate past two or three stud bays before it finds a way out. That is why a leak at an upstairs tub can show up as a soft baseboard eight feet away, in a room that otherwise looks perfect.
Going up is slower but just as real. The facing on drywall is paper, paper is cellulose, and cellulose wicks. Board standing in water on a bottom plate will draw moisture several inches up the paper face, and the core behind that paper turns soft and chalky before anything looks wrong from the front. Ceilings do the same thing sideways: water enters a joist bay, runs along the top of the board until it meets a taped seam, a can light, or a register boot, and exits there. The stain marks the exit. Scanning along the base of a wall with a meter, or working a ceiling in a grid, is the only honest way to find the edge of the wet zone.
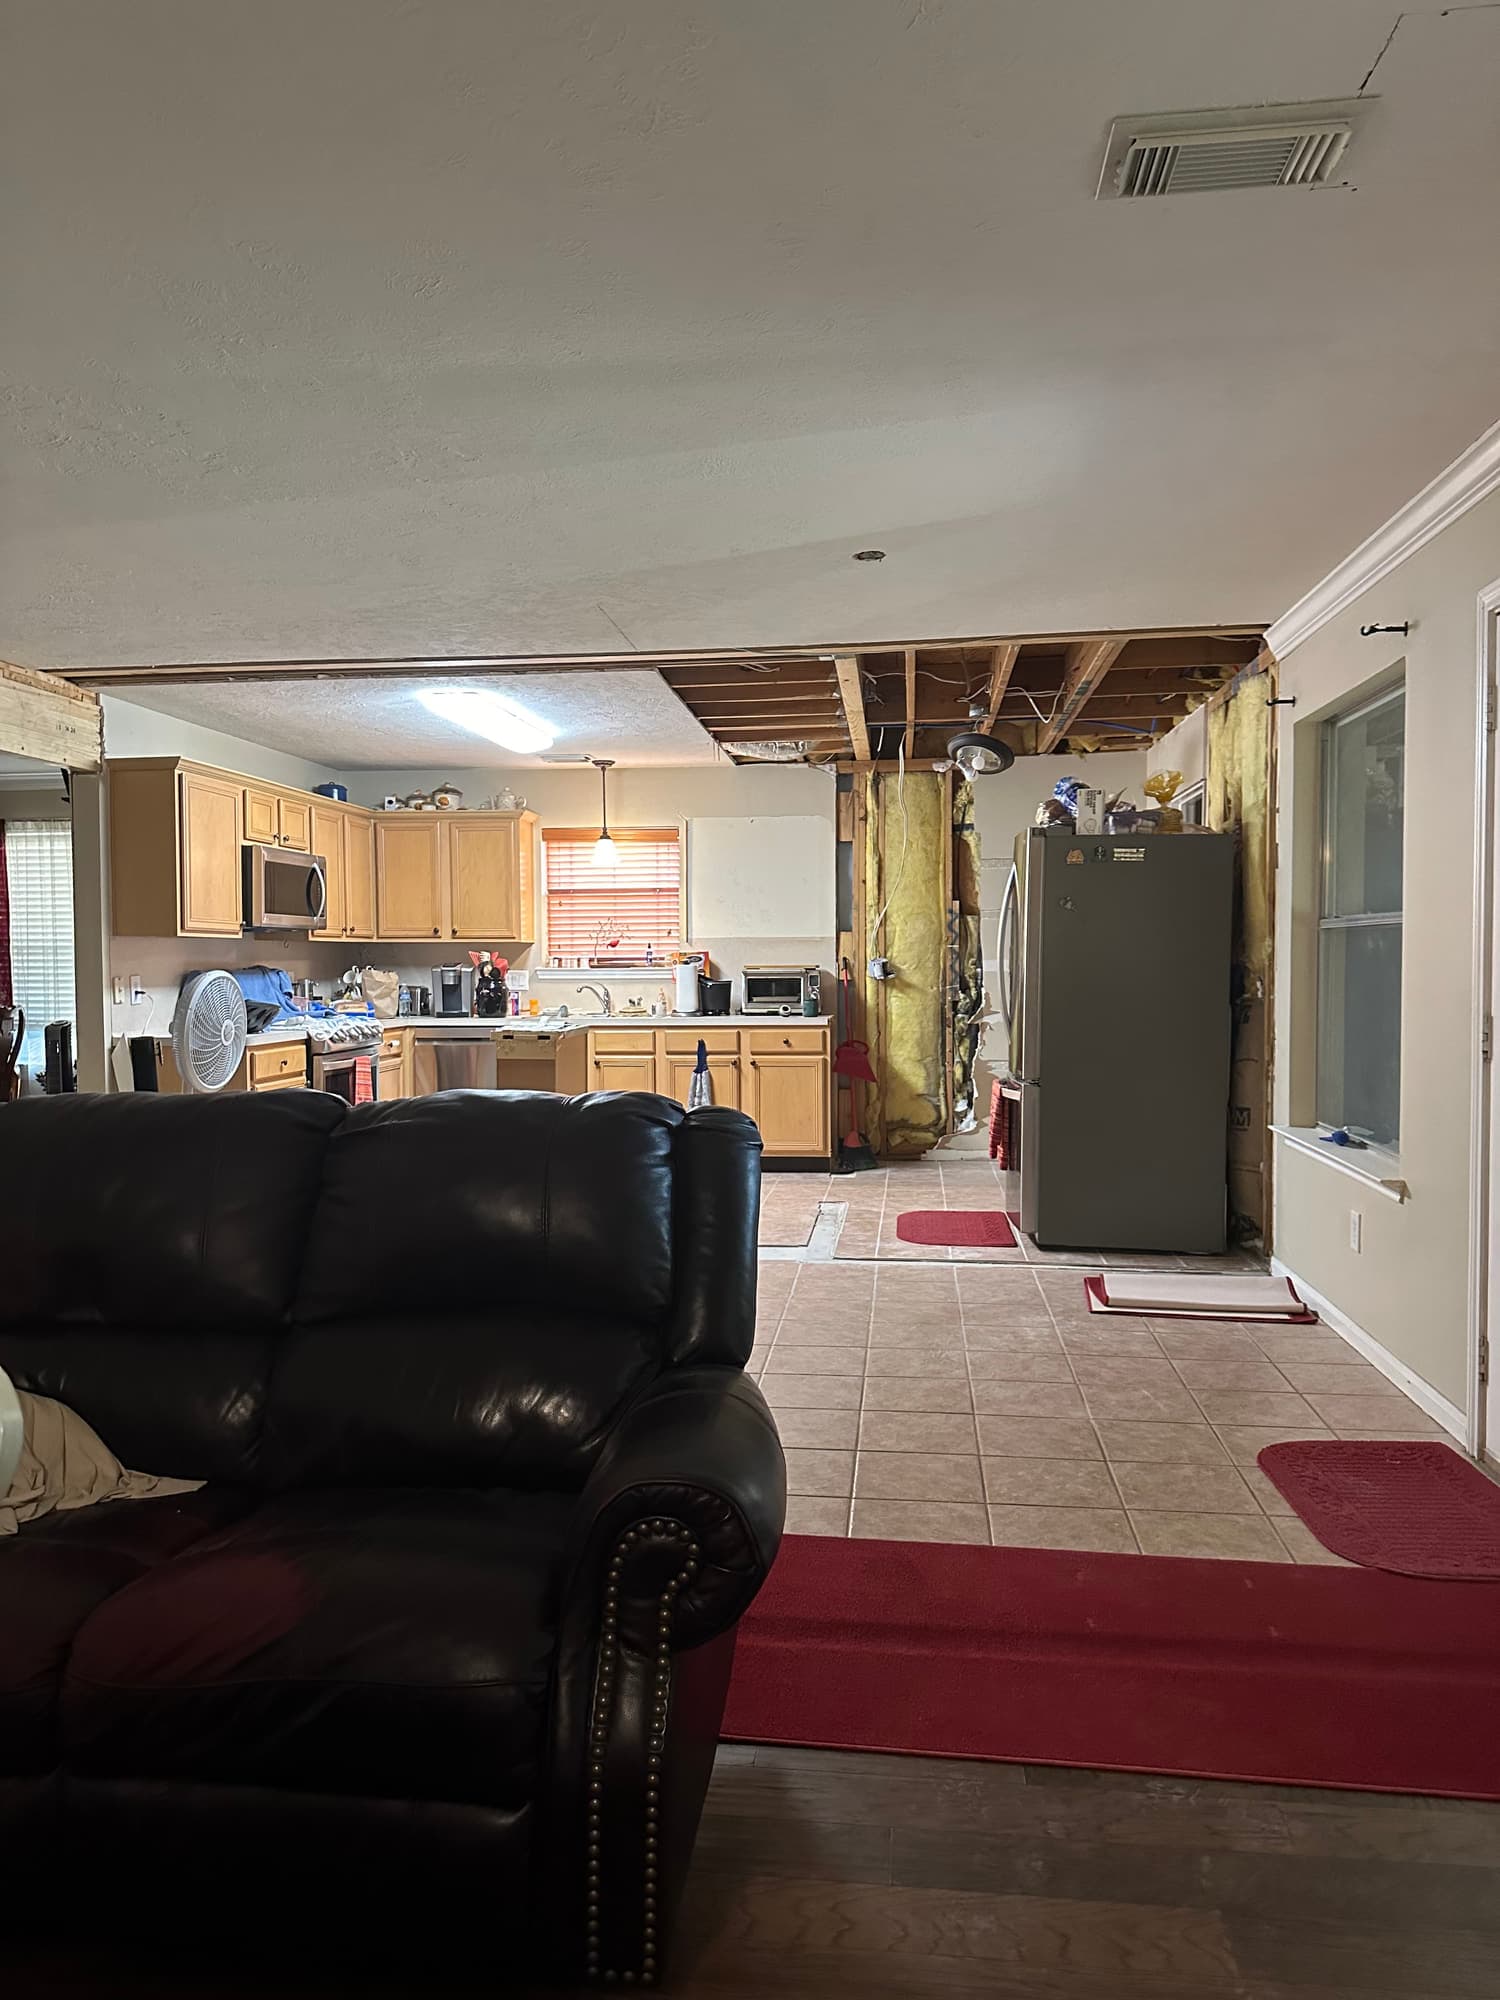
The 24 to 48 hour window
Mold needs a food source, a temperature it likes, and moisture. Paper-faced drywall and kraft-faced batts supply the food, a conditioned house supplies the temperature, and the leak supplies the rest. Under normal indoor conditions, growth on wet paper generally becomes likely somewhere in the 24 to 48 hour range, and it moves faster inside a closed wall cavity in a Houston summer, where the air behind the board is warm, humid and completely still. That window is why speed matters more than technique in the first two days. Board that gets opened up, dried and metered inside that window can very often be saved. Board that sat closed and wet for a week is usually a removal no matter how good it looks from the room side.
Wet insulation comes out. It does not dry in place.
This is the step homeowners most want to skip and the one that most often ruins an otherwise good repair. Fiberglass batts work by holding still air. Wet, they hold water instead, and they hold it directly against the stud faces and the back of the board, which are the two surfaces you are trying to dry. A soaked batt also slumps in the bay and never recovers its loft or its rated R-value, so even after it dries you have a gap at the top of the cavity that will never be right again. Kraft facing makes it worse by keeping the water in. Blown cellulose is finished the moment it gets wet; it packs into a mat and holds moisture for weeks. Mineral wool sheds water better and can occasionally be saved if the water was clean and the drying starts immediately, but the honest default is that wet insulation leaves in a bag and new insulation goes in before any board does. Insulation is cheap compared to the labor of opening the same wall twice.
What a moisture meter tells you, and what dry actually means
Two kinds of meter, two jobs. A pinless meter reads a shallow depth through a surface without marking it, which makes it the right tool for scanning a wall or ceiling quickly and mapping where the wet area ends. A pin meter drives two probes into the material and measures resistance between them, which is what gives you a real number in a stud, a plate, or a joist. Readings taken on gypsum are relative and vary by product, so the method that works is comparison: take a reading on framing or board in an unaffected part of the same house on the same day and treat that as your dry standard.
For framing lumber the working target is a moisture content in the mid-teens or below, and within a few points of that dry reference. A stud reading 12 to 14 percent next to a reference reading 10 is done. One reading 22 percent is not, no matter how dry it feels to a hand. Getting there means air moving across open framing plus a dehumidifier running in a closed room, not a box fan aimed at painted drywall. Air conditioning alone dehumidifies too slowly to pull water out of a two-by-four on any useful schedule. Mark the same spots and check them morning and evening. When the number stops falling for a full day and it is at target, the cavity is ready to close. Closing early is exactly how you get a repair that stains through in six weeks and an odor nobody can locate.
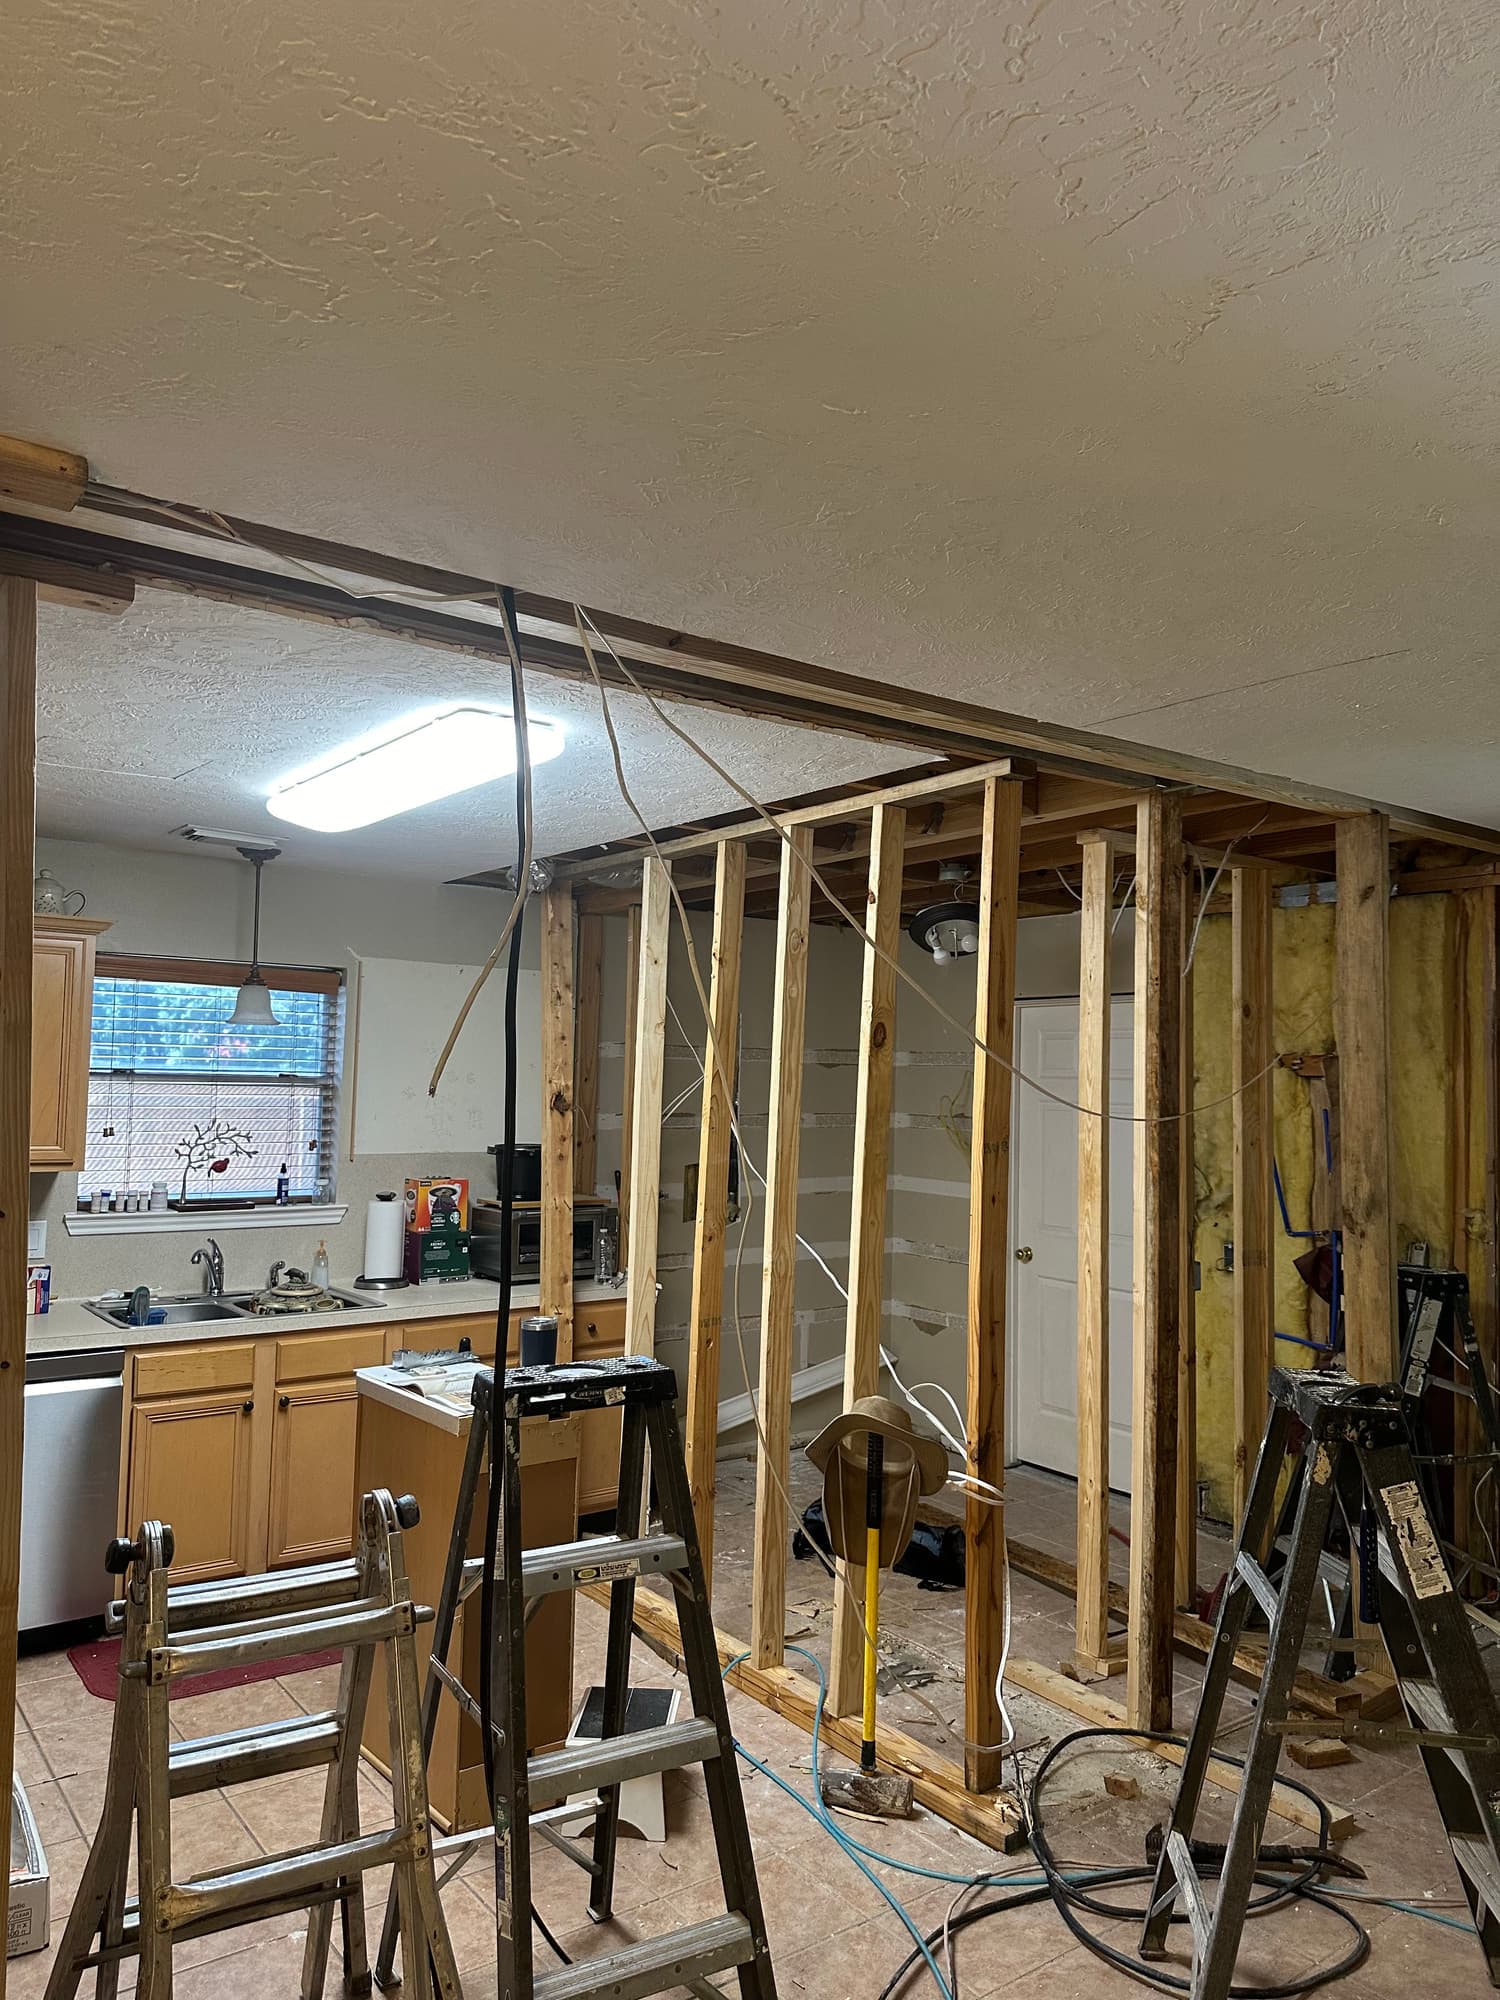
Repair or replace: how the decision actually goes
| Situation | What it usually calls for |
|---|---|
| Small stain, clean water, caught within a day or two, board still firm and flat | Dry the cavity, verify the framing at target, seal the stain and refinish. The board stays. |
| Board is soft or chalky, or crumbles under thumb pressure | Cut it out. Gypsum that has lost its bond does not recover when it dries. |
| Ceiling board sagging between joists, or seams and fasteners that have opened | Cut it out, and treat it as a safety issue first. A wet ceiling with insulation lying on it can come down in one piece. |
| Water was gray or black, came from a sewer line, or came from outside at ground level | Cut it out with a margin past the visible line, and take the insulation with it. |
| Cavity sat wet behind closed board for more than roughly 48 hours | Open it. Even if the board dries out, the cavity has to be inspected and the insulation replaced. |
| Tape joints bubbled, or corner bead rusting through the mud | At minimum the joint gets cut out and retaped. Rust bleeding through compound will come back through paint. |
| Water traveled along the bottom plate across several stud bays | Cut one continuous horizontal band rather than three separate patches. Fewer seams, and you can see the whole plate. |
One thing worth saying plainly: cutting more out is often cheaper than cutting less. Patch work is priced by seams and finishing area, not by square feet of board, so three small patches scattered across one wall can take more labor and blend worse than removing the bottom four feet in a single band and setting in a full sheet. The real cost drivers on this work are how much finish area the repair creates, whether the surface carries a texture that has to be matched, how far the water traveled, and whether the finish can stop at a natural break like an inside corner. Height matters too, since ceilings and stairwell walls take staging. Leaks also surface mid-project. Opening a wall during bathroom remodeling or kitchen remodeling regularly exposes a slow drip nobody knew about, and the decision tree above is the same one.
Cut to the center of the studs so the patch has backing
- Locate the framing and the services before the blade comes out. A stud finder marks the studs; what sits directly above and below the area tells you where wires and supply lines are likely running. Control how deep the blade goes, either by extending an oscillating blade only as far as the board thickness or by scoring the face with a knife and snapping the piece out, so the cut takes board and nothing behind it.
- Snap or scribe square lines. A rectangle with plumb and level edges finishes far better than a shape traced around a stain, because you can cut the replacement off a sheet with a square and a knife instead of scribing curves that will never quite meet.
- Cut the vertical edges on the centerline of the stud at each side. Cut the vertical edges on the centerline of the stud at each side. A nominal two-by-four is 1-1/2 inches across the face, so a cut down the middle leaves close to 3/4 of an inch of bearing for the existing board and the same for the new piece. Cut at the edge of a stud instead and the patch has nothing to fasten to. Cut at the edge of a stud instead and the patch has nothing to fasten to.
- Where a horizontal edge lands in open space, add backing. Screw a length of one-by-three or a strip of 1/2 inch plywood behind the existing board so it projects into the opening, held with two screws through the old board on each side. That strip is what the patch bites into.
- Match the thickness of what came out. 1/2 inch is standard on walls. Ceilings are commonly 1/2 inch sag-resistant or 5/8 inch, and Match the thickness of what came out. 1/2 inch is standard on walls. Ceilings are commonly 1/2 inch sag-resistant or 5/8 inch, and where the board you removed was 5/8 inch Type X, as it often is on the garage side of an attached garage or on a garage ceiling with living space above, the replacement has to be the same board. Mixing thicknesses leaves a step you will be filling forever. Mixing thicknesses leaves a step you will be filling forever.
- Leave a consistent gap of roughly 1/8 inch at the seams instead of forcing a tight fit. A gap fills with compound and stays put. A forced fit crumbles its own edges as it goes in.
Fasten with coarse-thread drywall screws into wood, 1-1/4 inch for 1/2 inch board, spaced about 12 inches on ceilings and 16 inches on walls, and kept at least 3/8 inch back from any cut edge. Drive each one until it dimples the paper without tearing it; a screw that breaks the face has no holding power and will pop later. For a hole smaller than roughly six inches with sound board all around it, a butterfly or California patch, where the gypsum is trimmed back off a square of board to leave a paper flange, is faster and flatter than adding backing, because that paper flange becomes the tape.
Tape, three coats, and knowing when to stop
Setting-type compound, the kind sold in bags and mixed on site, is the right material for the first coat, and it is the one that holds a schedule in Gulf Coast humidity, where ready-mixed compound can stay soft on a wall most of the day. It cures chemically over a stated working time, commonly 20, 45 or 90 minutes, rather than by drying, so it can be recoated on a schedule and it shrinks far less than ready-mixed compound. Paper tape bedded into it is stronger than mesh at a butt joint, and every seam on a patch is effectively a butt joint because the factory tapered edges are gone. After that, two coats of ready-mixed compound, each wider than the last: roughly six inches over the tape, ten on the fill coat, twelve to fourteen on the finish. Width is most of the trick. A repair reads as a repair when the compound stops abruptly, and it disappears when the transition is too gradual for light to catch. Sand between the last coats with a sponge or pole sander at 120 to 150 grit, then hold a light flat against the surface so it rakes across the work. What you cannot see under a raking light, nobody will see after paint. Flat and matte paints forgive a lot; anything with sheen, and any wall that takes low sun through a window, wants a skim coat over the whole patched area first.
Stain-blocking shellac: when it seals, and when it hides
A water stain is dissolved material, tannin and dust and adhesive and whatever else the water passed through, left on the surface as it dried. Latex primer does not stop it. Water-based stain blockers slow it down and often let a yellow ghost come back through a month later. Pigmented shellac primer is the product that actually seals it. It dries in well under an hour, recoats nearly as fast, blocks tannin and water staining reliably, and seals odor with it. Applied to a dry, sound, stained surface, it is exactly right, and it is what a dried and verified ceiling stain should get before paint. Applied to a surface that is still damp, or over board that has gone soft behind the paint, it is doing something else: laying a low-permeability skin over wet gypsum, slowing the drying and hiding the evidence while the framing behind it stays wet. The meter decides that, not the appearance. Shellac after drying is finishing. Shellac instead of drying is a cover-up, and it fails on the leak's schedule rather than yours. Two practical notes: it is alcohol based, so ventilate and clean up with denatured alcohol, and it flashes badly under a topcoat if you spot-prime, so prime the full patched area rather than dabbing the stain.
Texture is what makes the repair invisible
Everything above can be done well and the repair will still be obvious if the texture is wrong. The eye does not read a small flatness difference across a wall. It reads a pattern that stops. Most houses around Houston carry a sprayed or hand-applied texture on walls, ceilings or both, and matching it is the difference between a patch nobody can find and a patch that is the first thing a guest looks at. Take a sample before the old board leaves: cut a piece out of the section you removed and keep it, because a texture looks different in your hand than it does on a lit wall, and you will want to compare on the wall.
- Orange peel. Sprayed from a hopper gun with compound thinned to about the consistency of thin pancake batter, then left alone. The match lives in three variables, nozzle size, air pressure and how thin the mud is, so spray a scrap of board and hold it against the wall before pointing the gun at the repair.
- Knockdown. Sprayed heavier than orange peel, then left until the peaks lose their wet shine, usually somewhere in the ten to twenty minute range depending on humidity, and then flattened with a wide knife or a knockdown blade. Too early and it smears into mud, too late and it will not flatten at all. Timing is the entire skill and it moves with the weather.
- Heavy swirl, stomp and rosebud. Applied by hand with a crow's-foot or stipple brush, and for swirl dragged in overlapping arcs. These are common on ceilings in older Houston houses. They were made by a person rather than a machine, so matching one means matching that person's arc size, pressure and overlap. It is slow, and it is the hardest of the three to get right.
- Skip trowel and hand-troweled finishes. Thin passes with a curved knife leaving flat islands over a lower background. Matched by pass direction and feel, not by owning the right tool.
- Smooth, Level 5. No texture at all, just a skim coat over the entire surface. Common in newer and higher-end work. Easiest to blend and least forgiving of sloppy sanding, because there is no pattern to hide behind.
Texture is also where the boundary of the job gets set. Texture and paint both stop cleanly at an inside corner, and almost nothing else on a wall does, so a repair in the middle of a wall means texturing and painting that wall corner to corner. Sheen and color do not spot-match. Even the same paint from the same can flashes differently over a fresh patch than over a surface that has been coated for six years, because the porosity underneath is not the same. Prime the full patched area with a drywall primer once the texture is dry, then coat the whole plane, and give a ceiling the entire ceiling. Flat on ceilings, and eggshell or satin on walls in kitchens and baths where the surface gets wiped, are the usual choices for the interior painting that closes out a drywall repair. That last step is not cosmetic bookkeeping. It is what decides whether anyone can tell there was ever a leak.